Getting Started
Note
You need an account on HelixWare or a compatible server in order to be able to use this plugin.
Compatibility
HelixWare is compatible with WordPress 3.9 and later.
Installation
Download the provided zip file to the wp-content/plugins directory of your WordPress installation. Unzip the file, from the command line:
unzip helixware.zip
Activation
From the WordPress administration menu, click on Plugins / Installed Plugins. Then click on Activate on the HelixWare plugin.
If the plugin is successfully activated you should see the following banner below the title in the admin screens:

Note
Until HelixWare is correctly configured, the banner will show loading... instead of the quota value.
Configuration
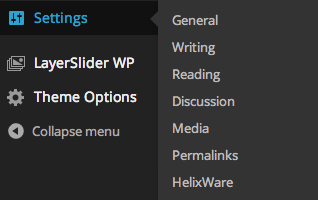
Hover on the Settings menu from the left bar, a menu will open. Click on HelixWare to open the settings screen:
From this screen you can set the following settings:
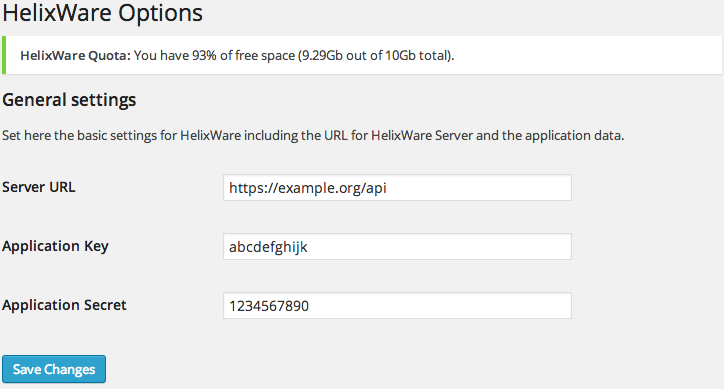
- Server URL
- The URL to the HelixWare server API.
- Application Key
- Your application key.
- Application Secret
- Your application secret.
Configure all the settings with the values that the HelixWare team will provide to you. Don’t forget to save the changes by clicking on Save Changes.
Note
After saving the HelixWare quota bar should show how much space is available in your account. If it displays loading for an indefinite time, it means that the account data might not be valid. Please check with the HelixWare team is such a case.
You can now continue to the Uploading Videos page.